
Onboarding “How it works” screen introducing receipt scanning, showing an icon and step label “Scan Receipt” with a pagination indicator. Primary CTA button lets users scan their first receipt, with a secondary option to try a sample receipt.
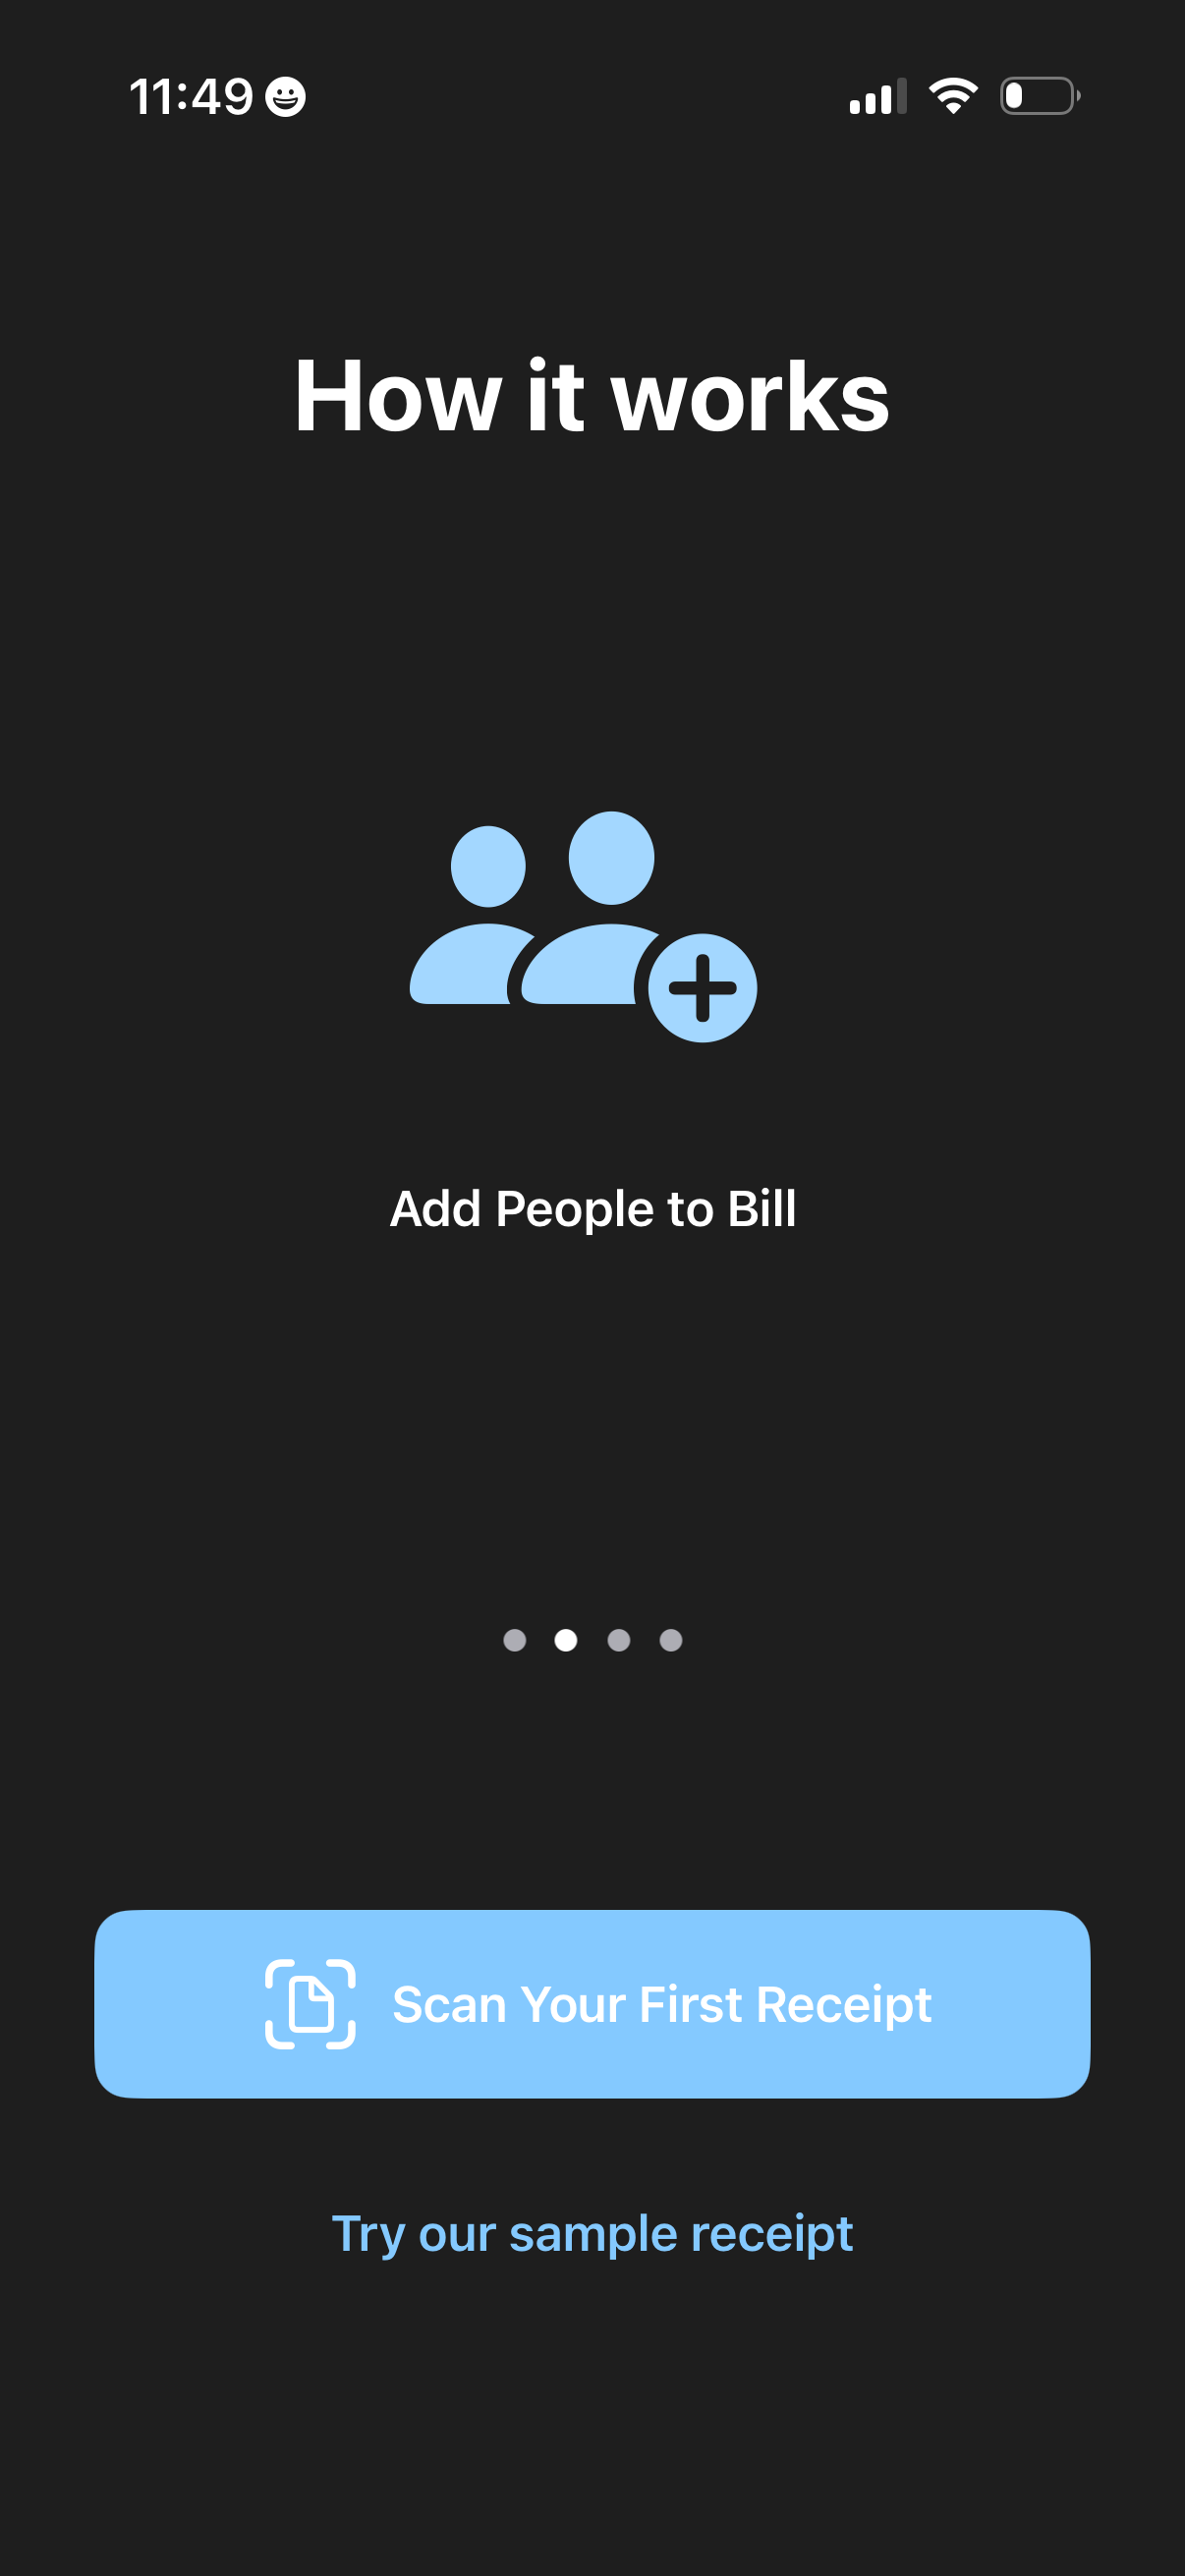
Onboarding “How it works” screen for a bill-splitting app explaining the step to add people to a bill, with a carousel progress indicator. Primary CTA prompts users to scan their first receipt, with a secondary option to try a sample receipt.
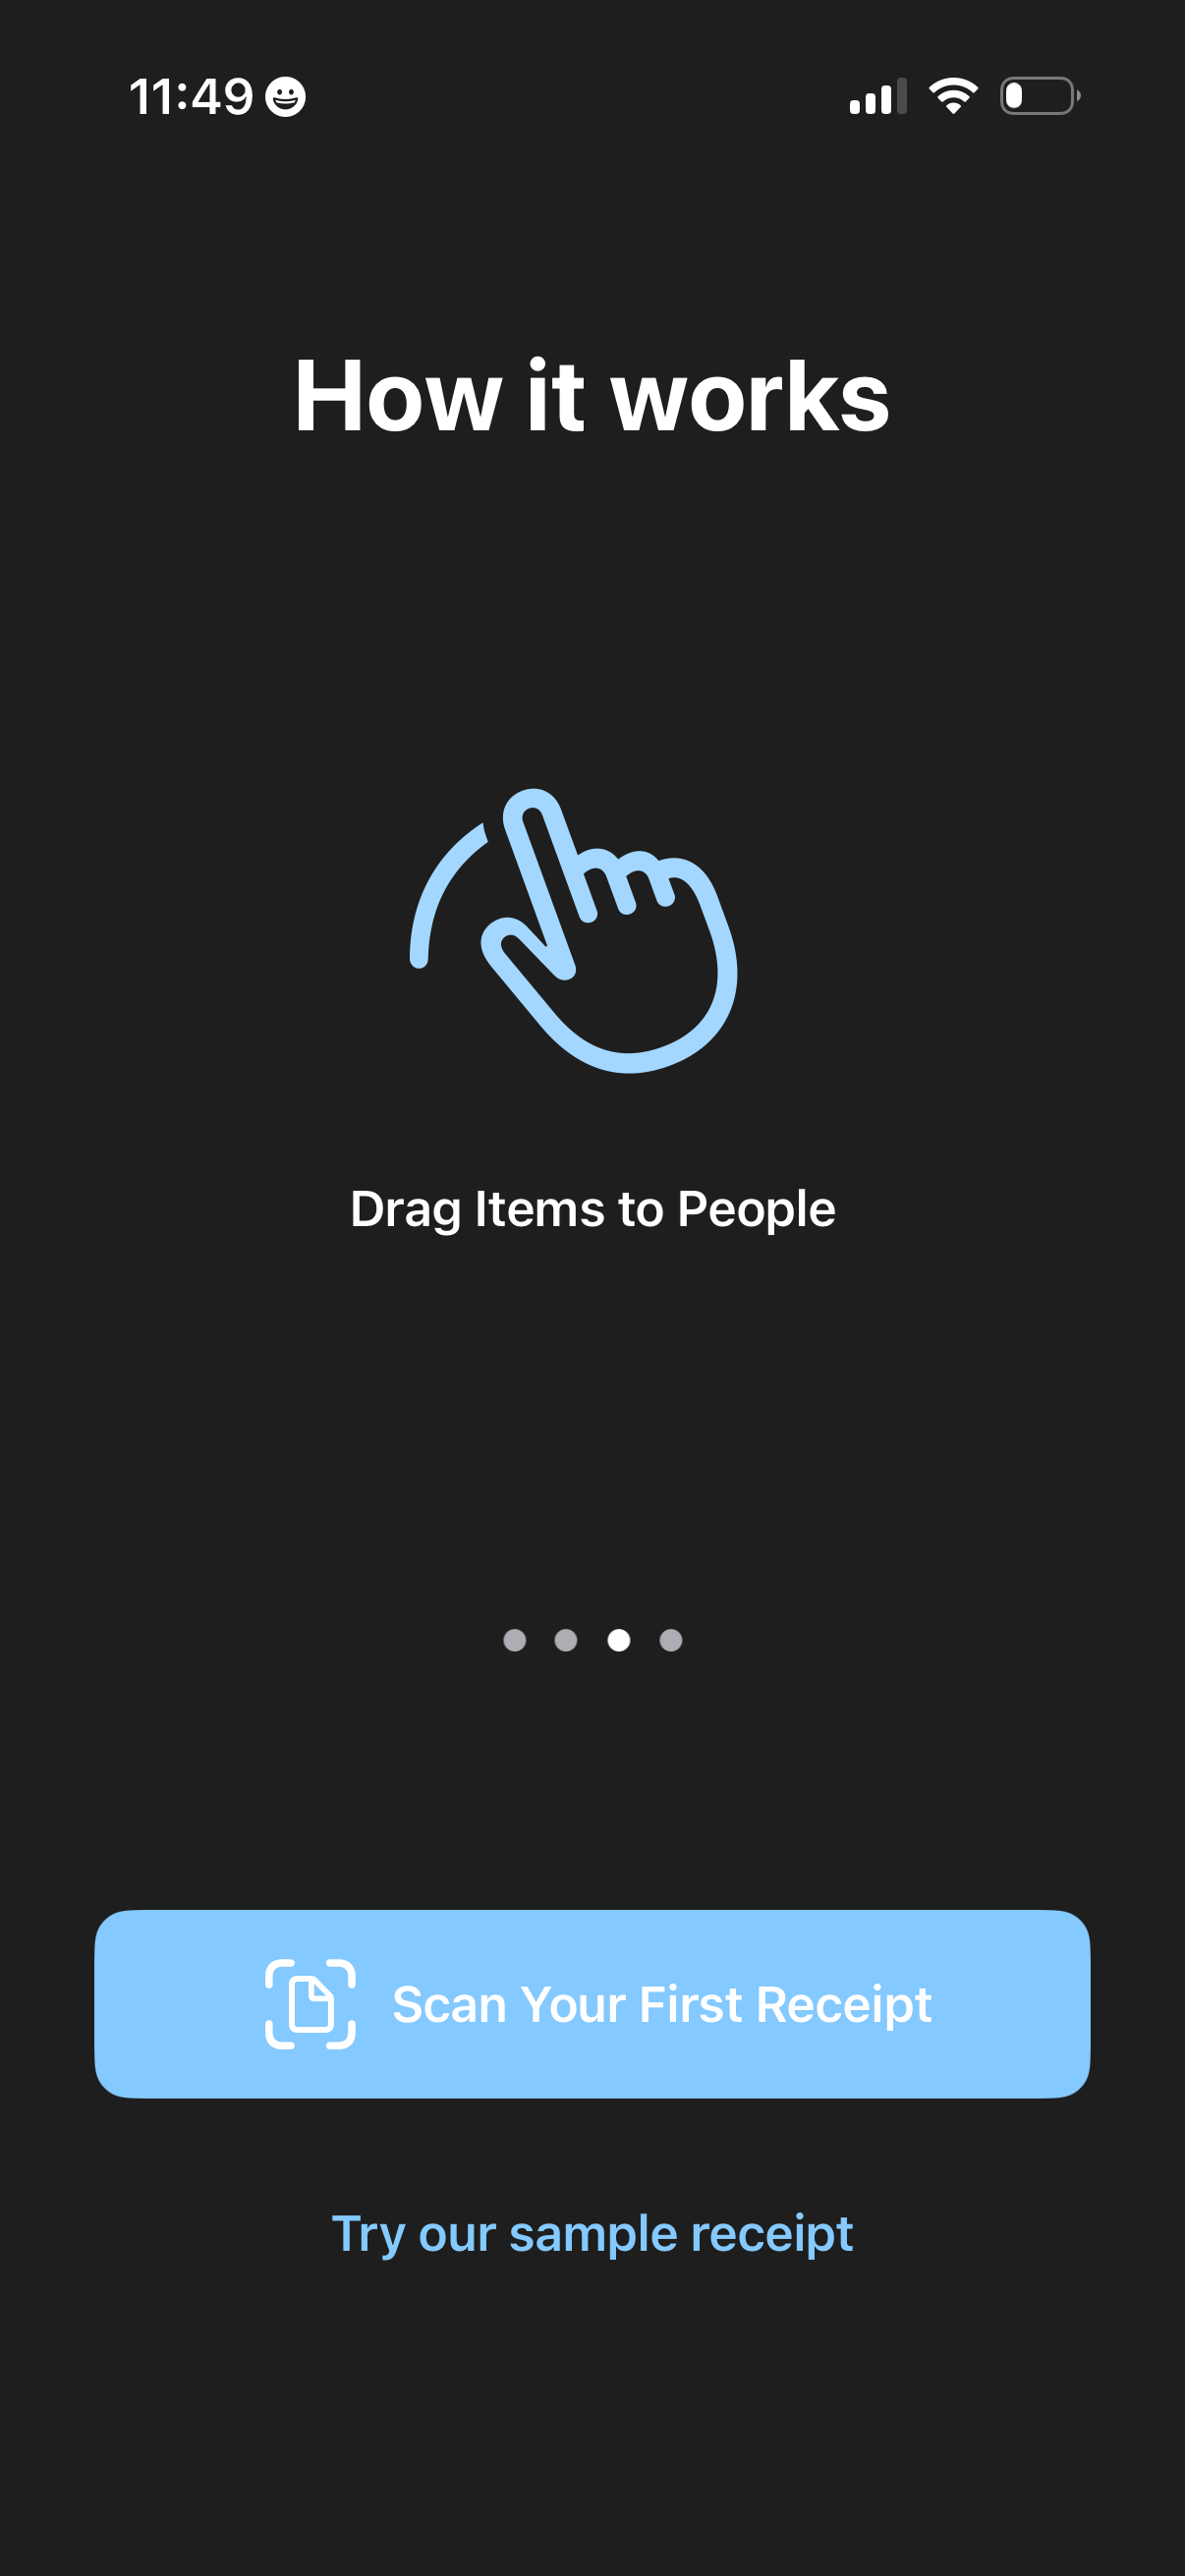
Onboarding “How it works” tutorial screen for a receipt-scanning bill-splitting app, explaining that you can drag line items to people. Primary CTA prompts users to “Scan Your First Receipt,” with an alternate option to try a sample receipt and pagination dots indicating multiple onboarding steps.
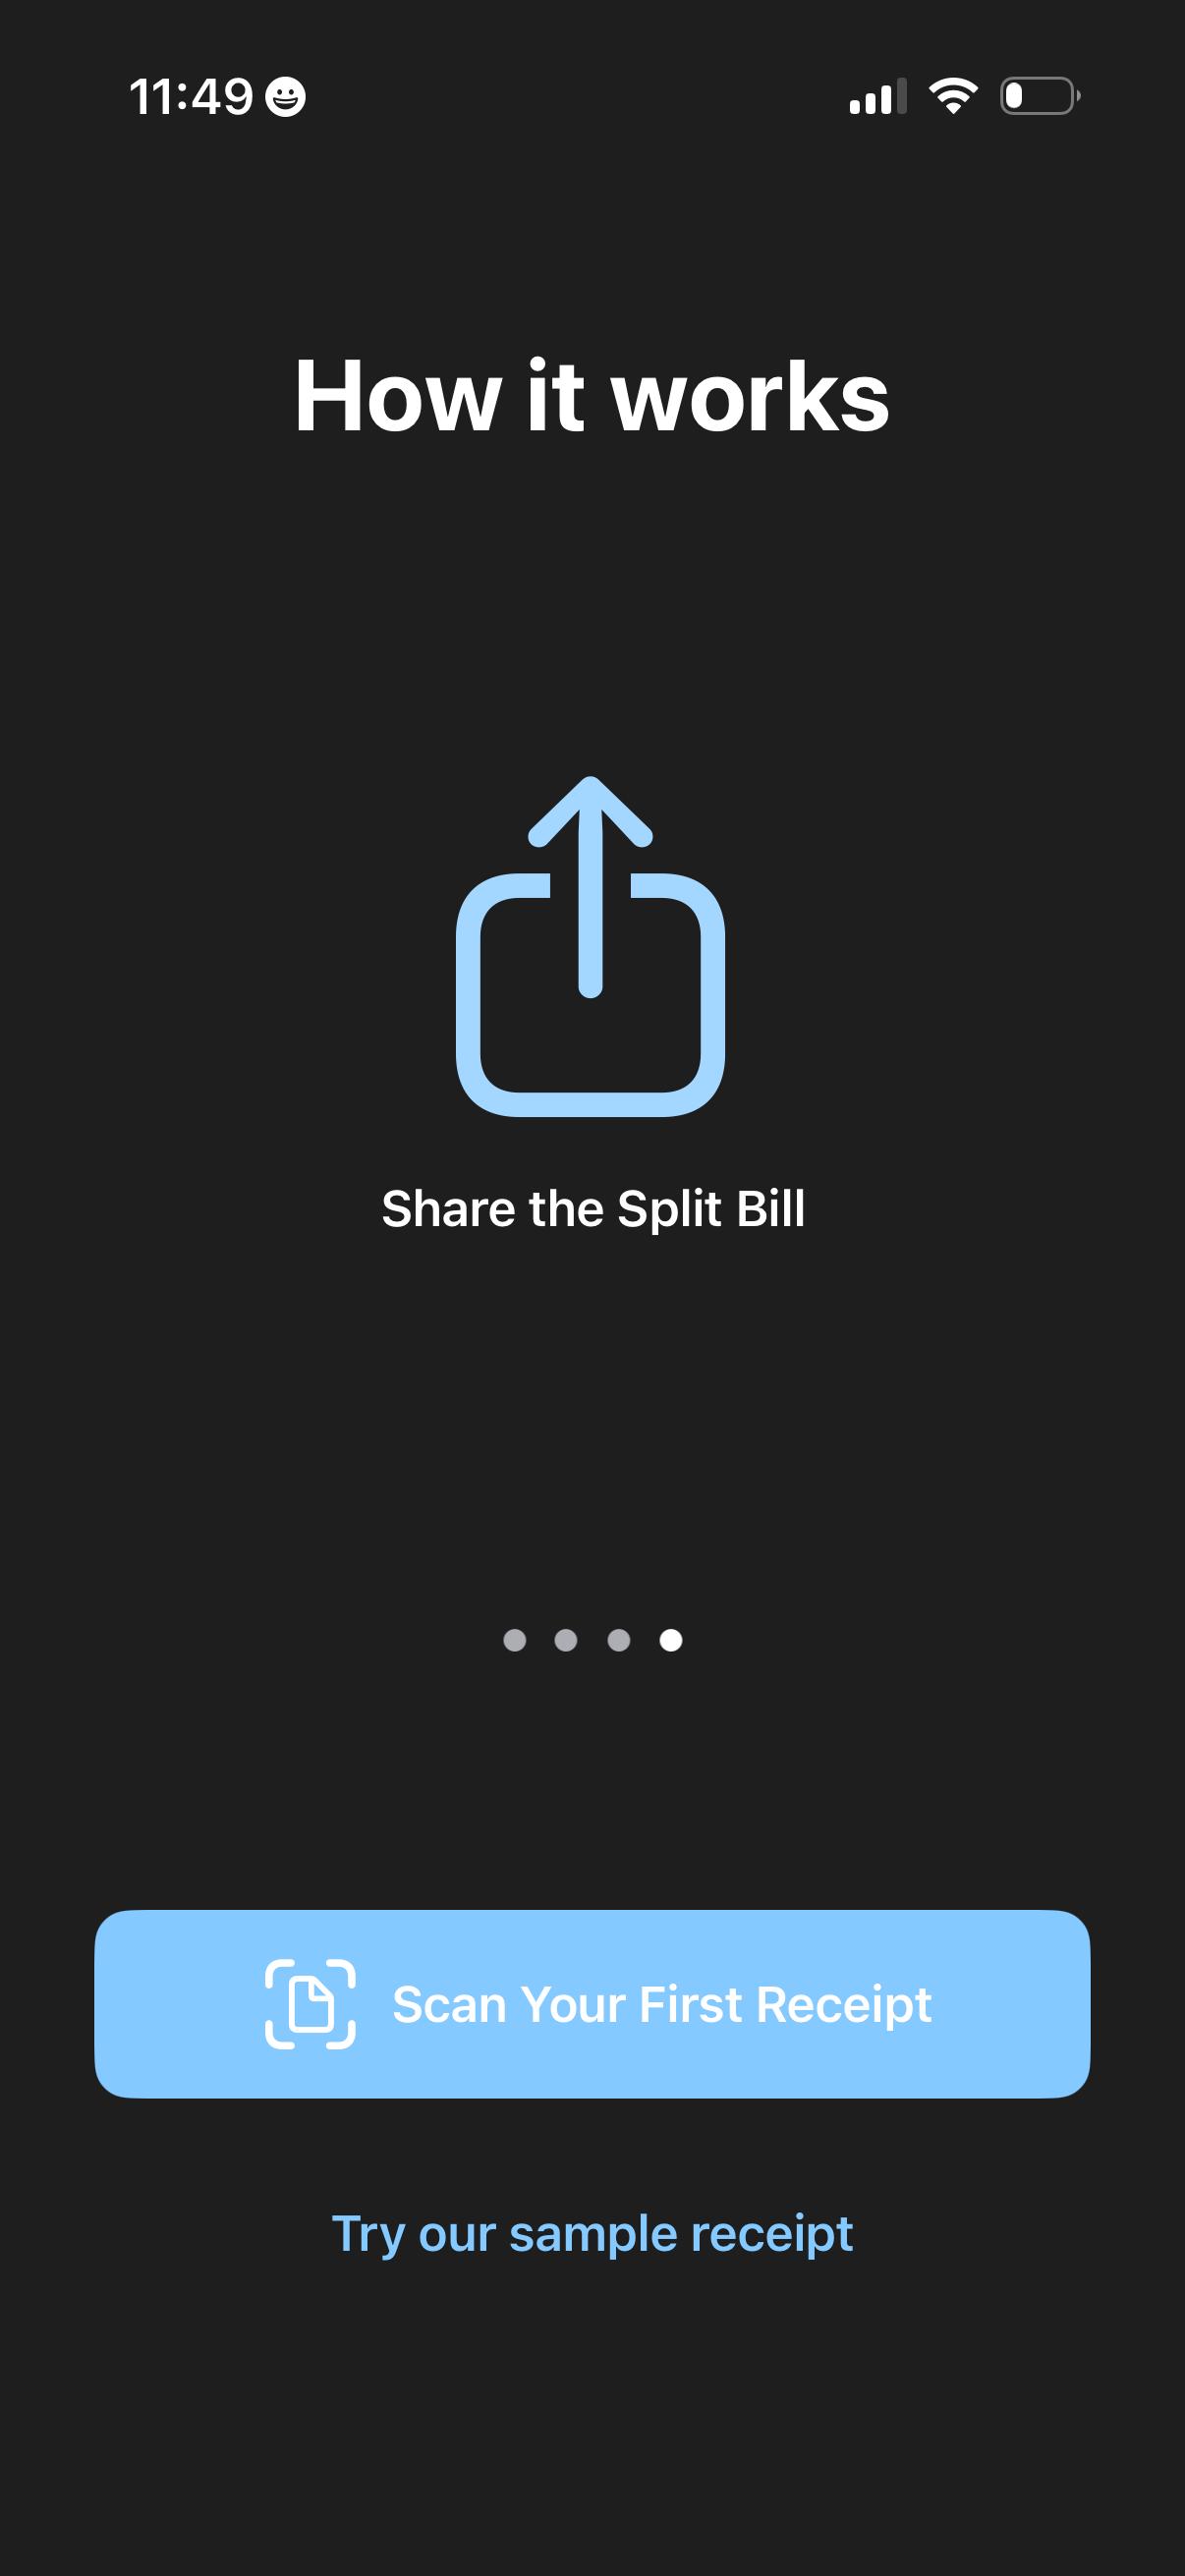
Onboarding “How it works” carousel screen for a bill-splitting app explaining the step to share the split bill, with pagination dots and a primary CTA to scan your first receipt plus a secondary option to try a sample receipt.

Receipt scanning progress screen showing a detected restaurant receipt with line items, subtotal, tax, tip, and total while the app is analyzing and extracting expense details. Minimal interface focuses on the receipt preview and an action to add/attach the receipt to a person or expense entry.
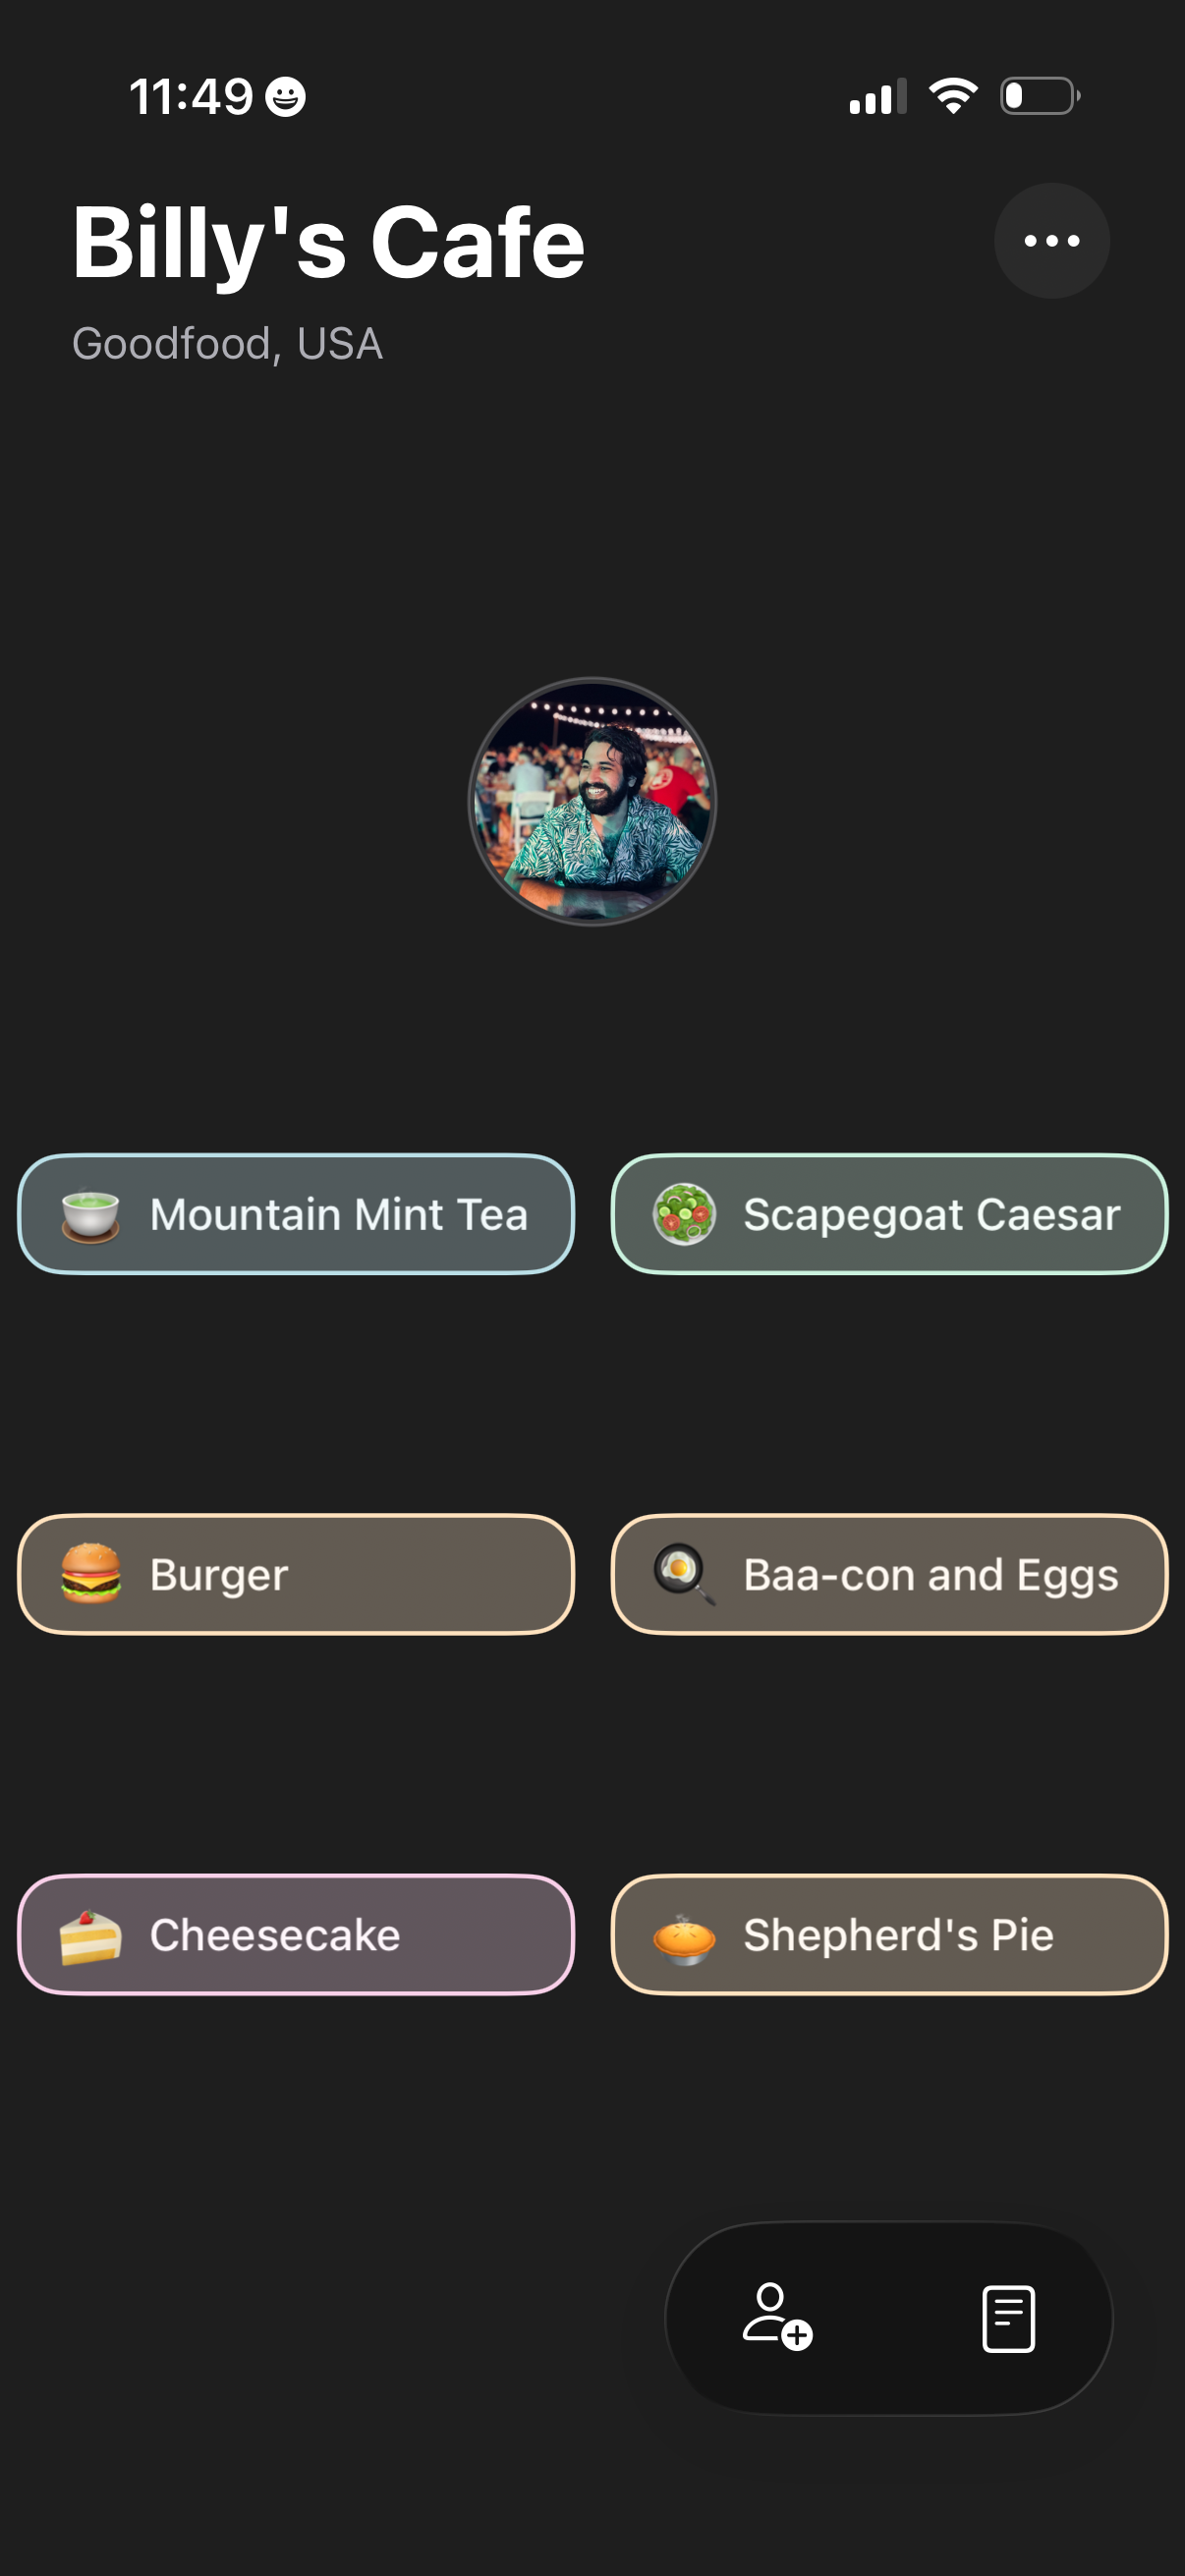
Restaurant profile screen for a cafe showing the venue name and location plus a grid of menu item chips with icons for quick selection. Includes an overflow options menu and a bottom action area to add people/invite or open an order/menu list.